August 23
27 Racks of St Louis Ribs on the Meadow Creek PR60T Pig Roaster
0 comments
August 23
0 comments
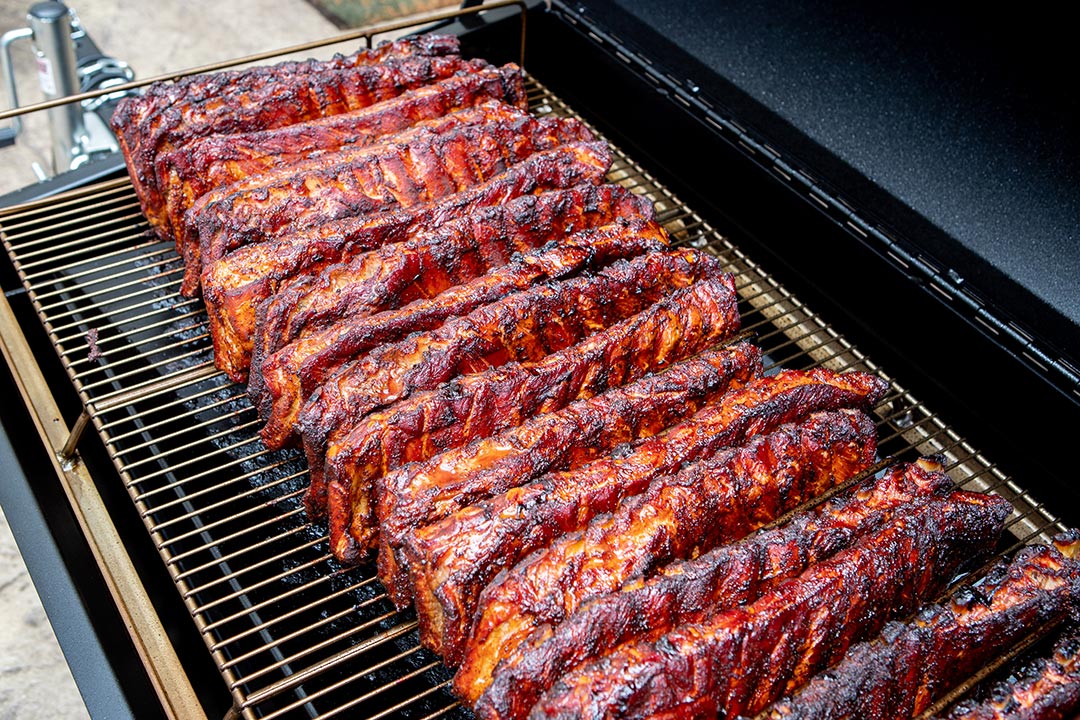
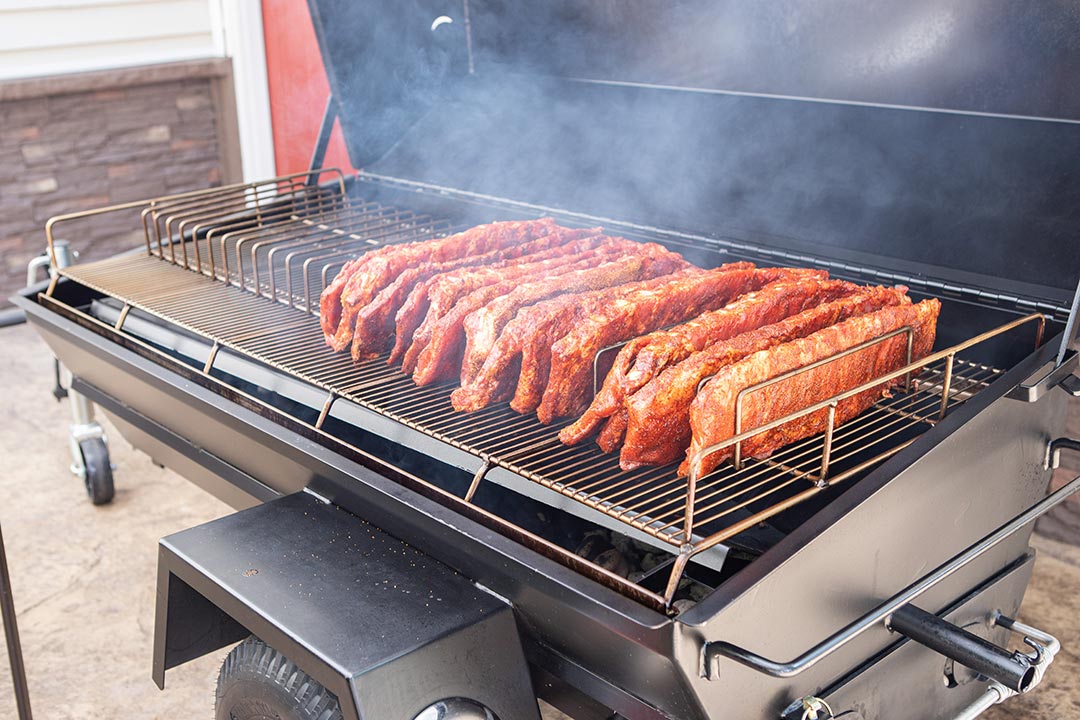
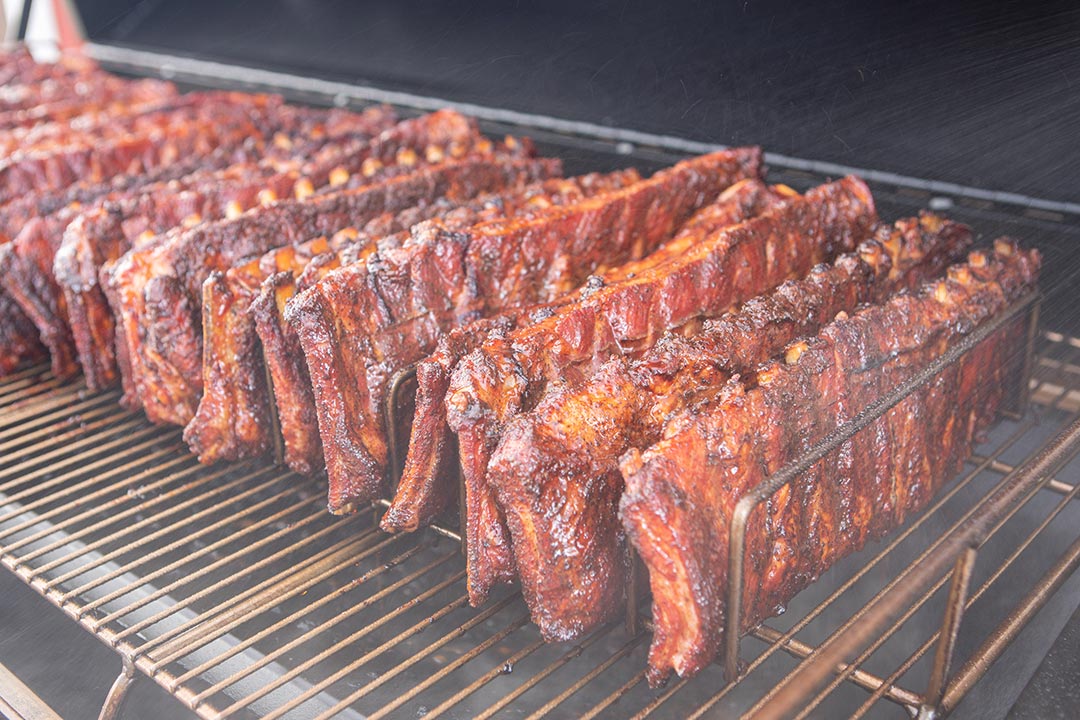
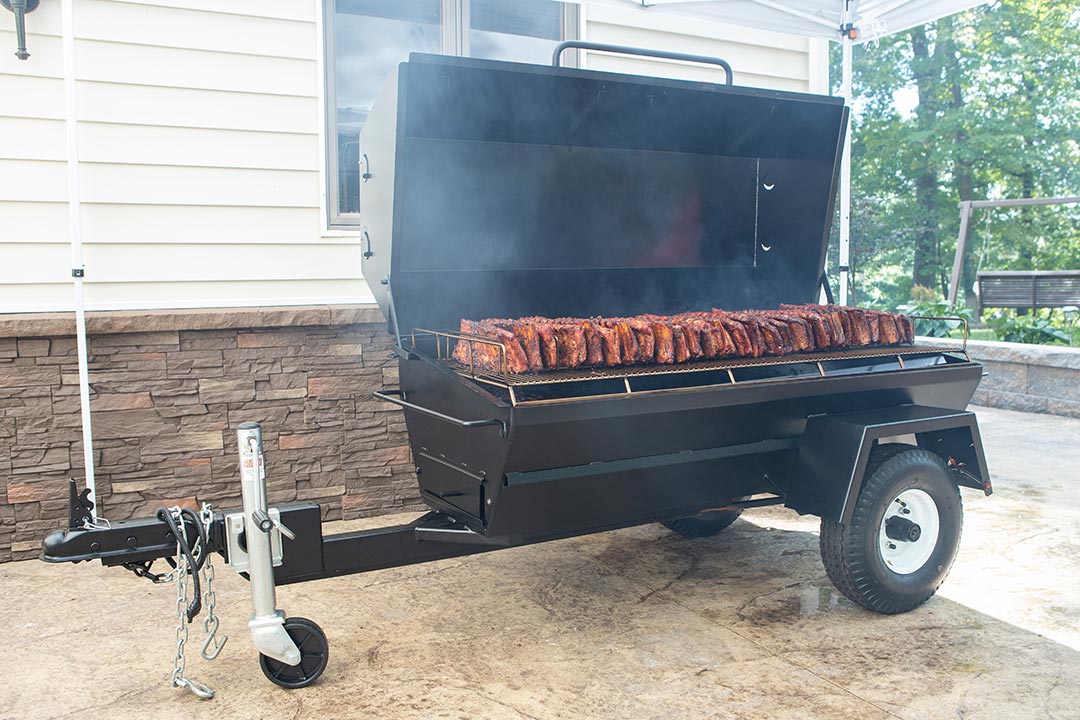
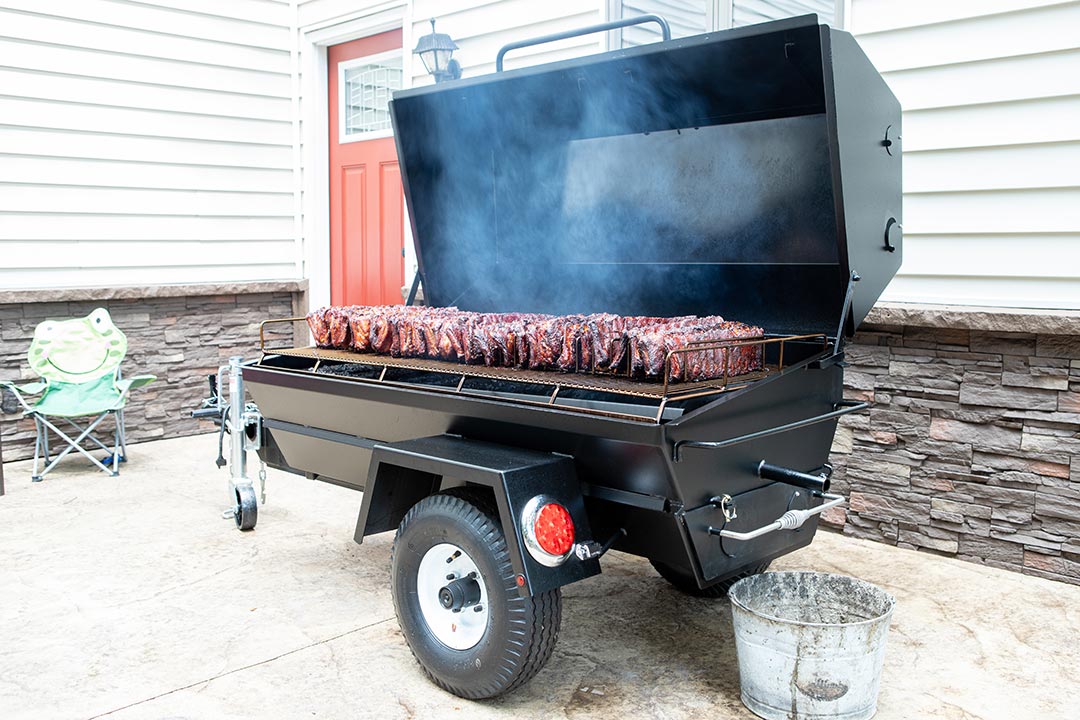
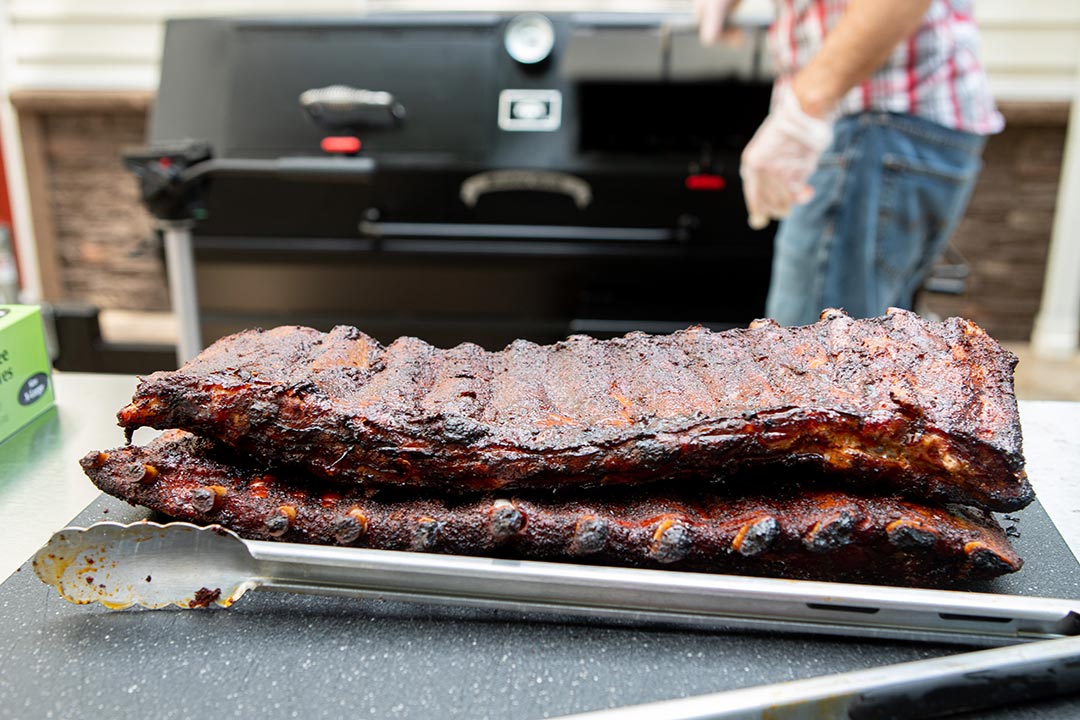
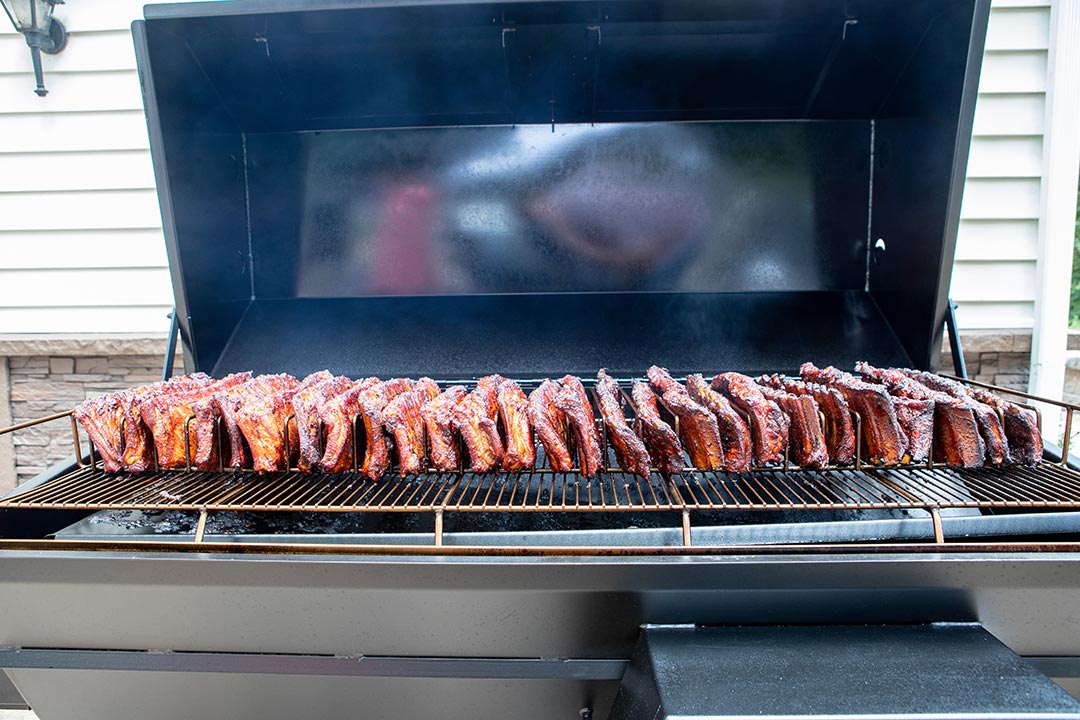
In today's story, I will show you how I cooked 27 racks of St. Louis ribs on my PR60T pig roaster using the optional rib rack. The ribs turned out excellent—irresistibly smoky, tender, and savory.
Just look at this...
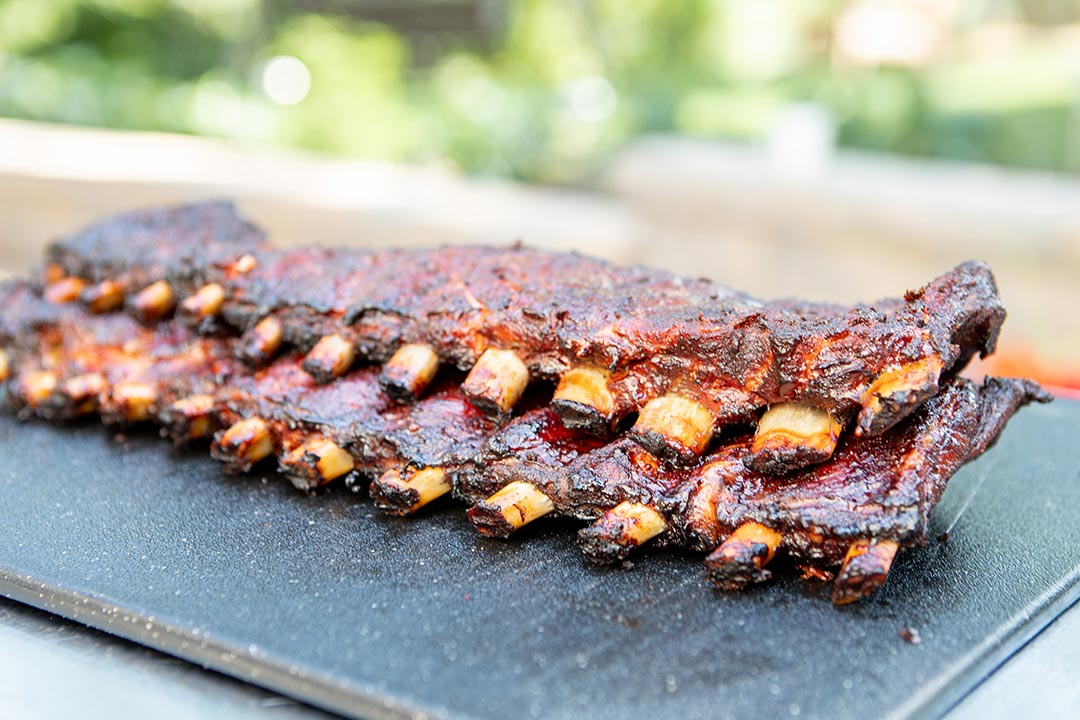

“Solid performer for pork butts, brisket, and anything you like to smoke or roast.”
- Ron Miller, Meadow Creek Pig Roaster owner -
If that doesn't make you hungry, I don't know what will...
My PR60T pig roaster has a charcoal pullout, which makes it easy to dump out the ashes after a cook.
After taking the ashes out and removing the cooking grate and drip pan, you can clean the entire inside of the roaster and the drip pan with a pressure washer. For the outside, you can add dish soap to your pressure washer reservoir, spray the roaster with soapy water, scrub it with a wet rag, and rinse it with high pressure.
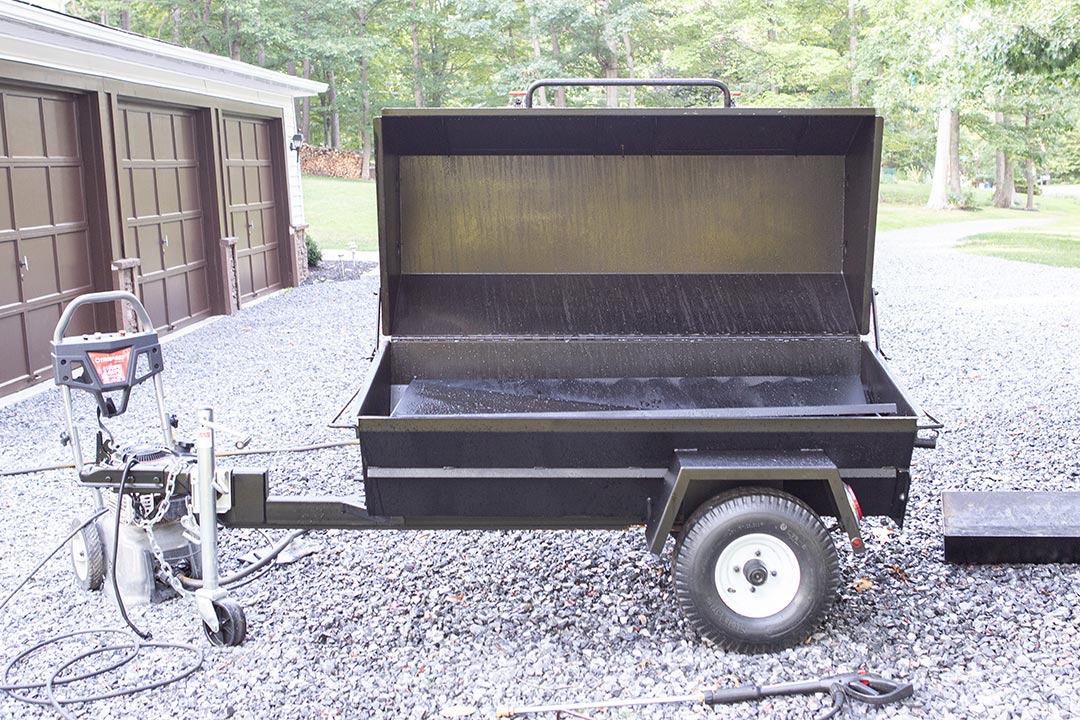
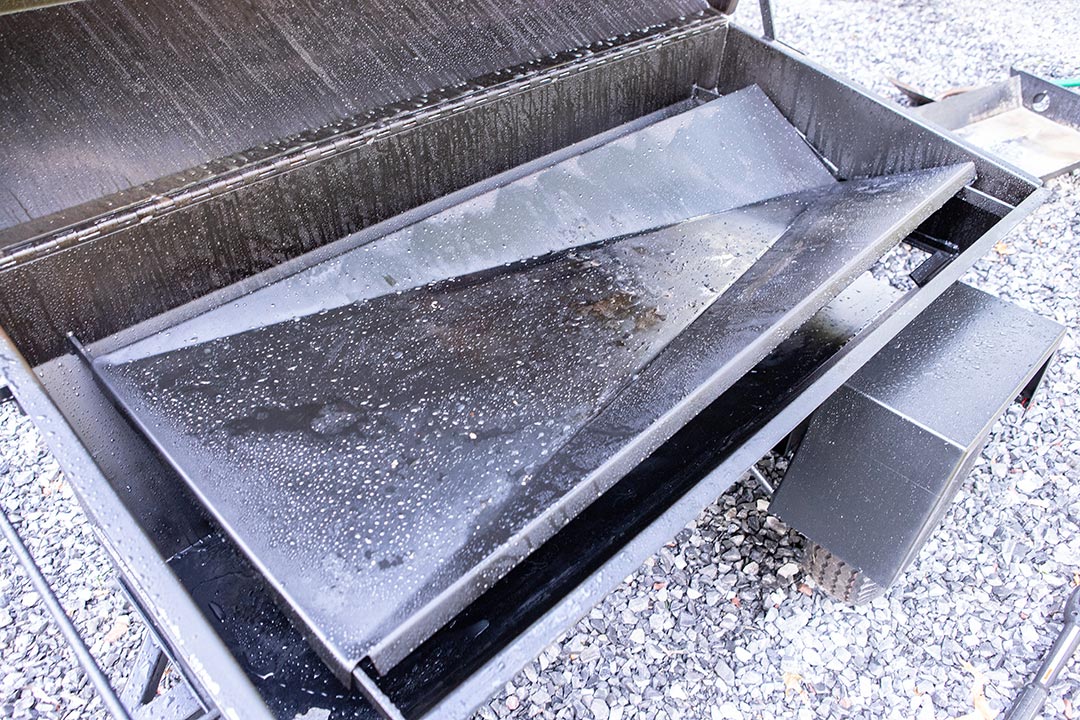
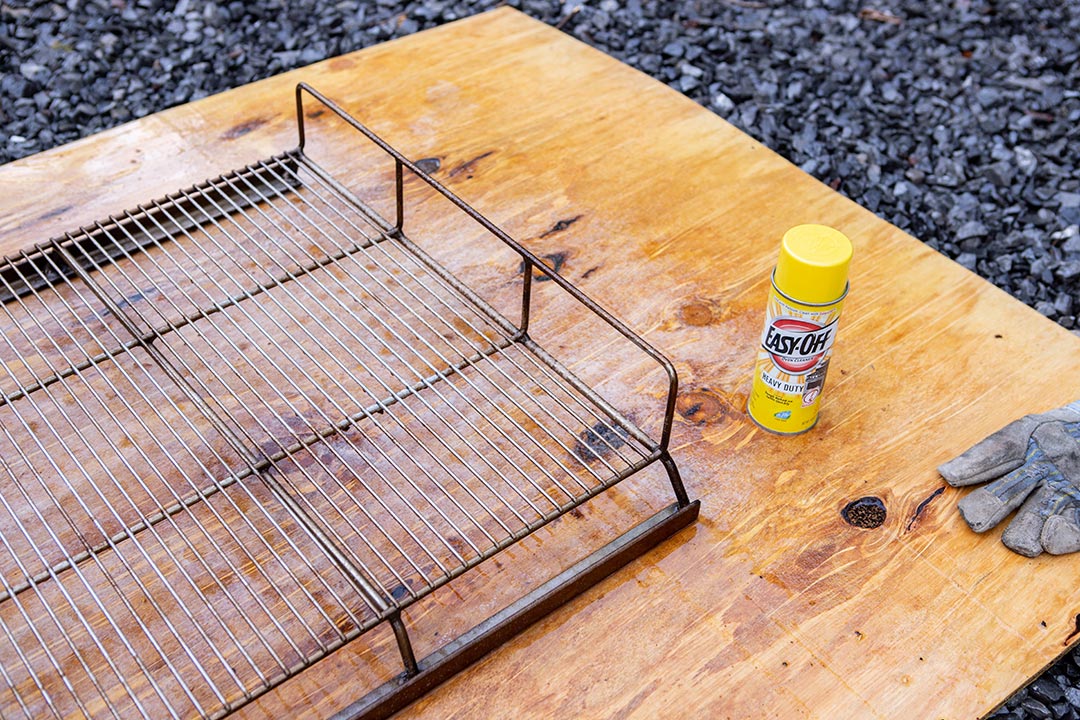
I like to use heavy duty Easy Off oven cleaner for the cooking grates. I don't have a paved drive and my patio is stamped so I use piece of plywood on the gravel for spraying grates and ash pans. If you do it on grass or gravel, it will be impossible to get the grate entirely clean and the pressure from the pressure washer will displace the gravel and grass.
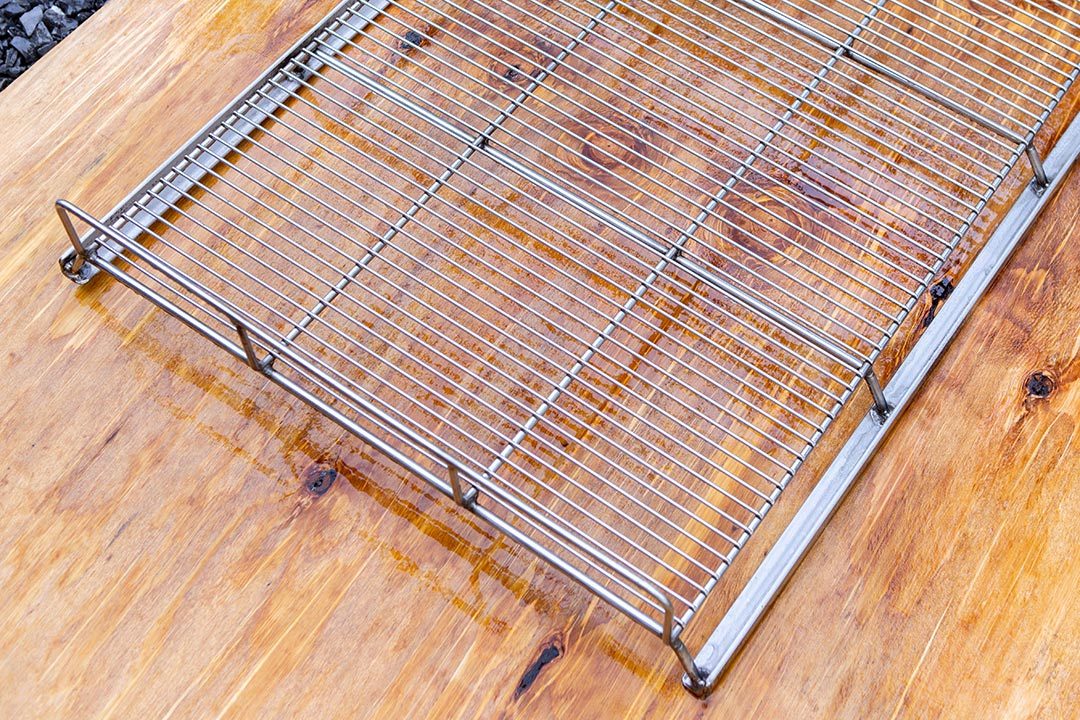
You can simply wash the grates with water, but see how shiny the grate is after one treatment of oven cleaner.
There are different ways to do this, but here is my method.
I use Royal Oak Chef's Select briquettes and log splits around 16" long. For this cook I used 40 pounds of charcoal and ran it at 225–250 degrees F, and it was plenty for the 8.5 hours between the time I fired it and when I took the last of the meat off.
If you are doing a 6-hour cook, 30 pounds of charcoal and several pieces of wood should be enough. If you are doing a pig roast, refer to the owner's manual for charcoal recommendations.
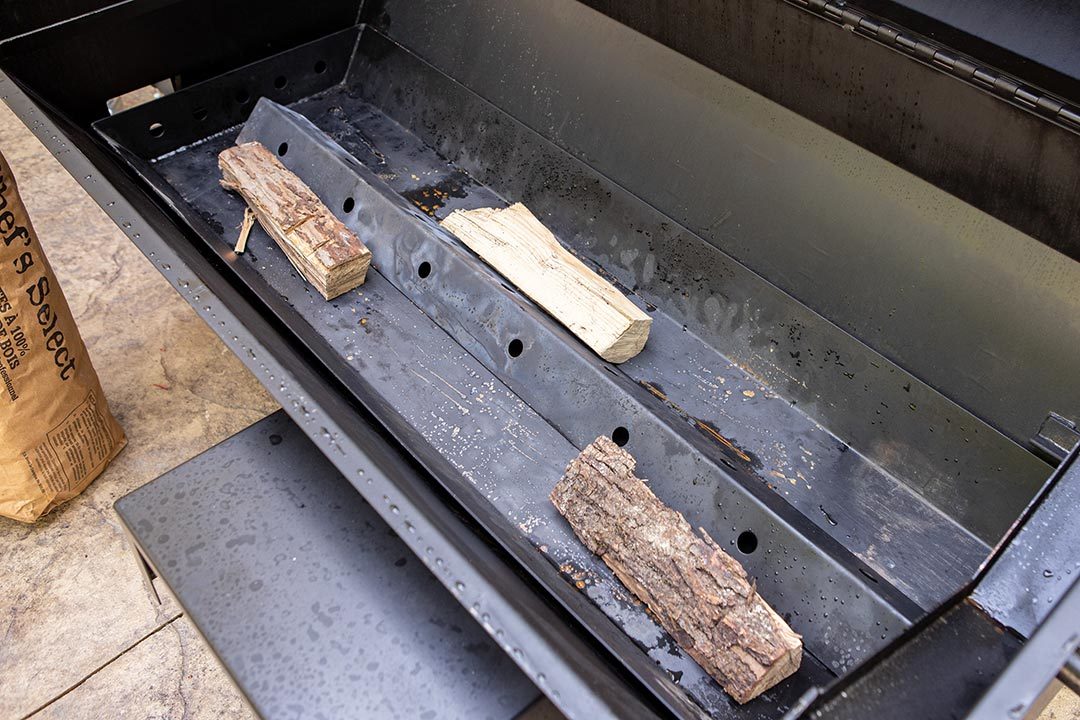
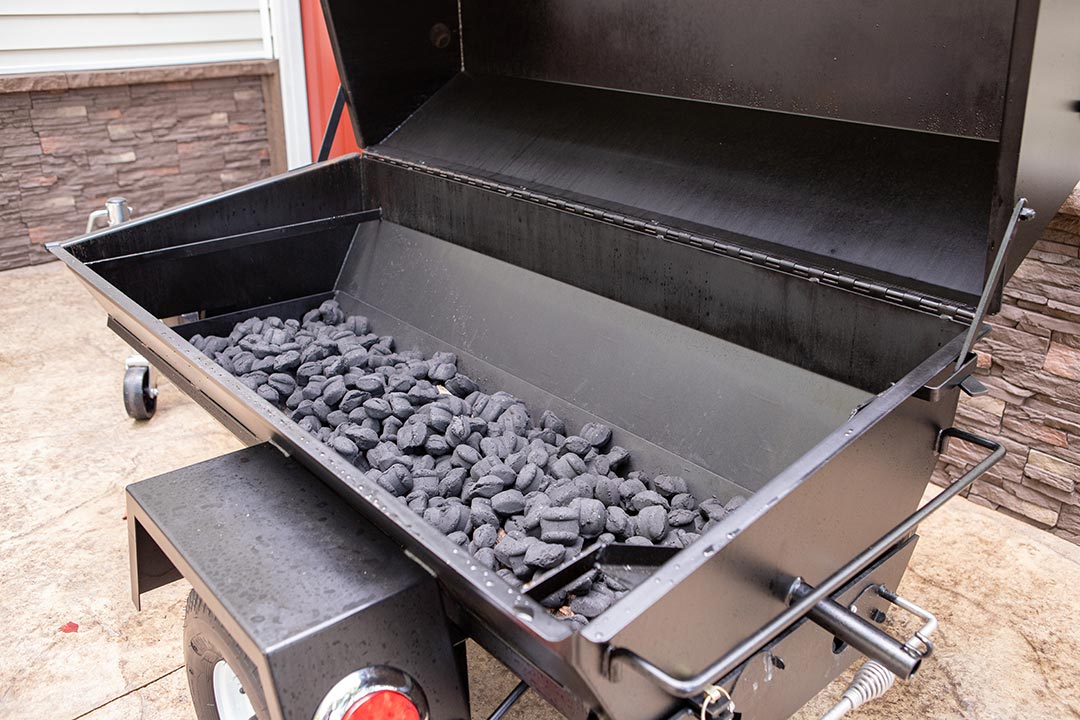
I use a propane torch to light the charcoal at both ends of the cooker. With the torch, it takes 10–15 minutes to get one area well-lit. The coals should be gray as shown in the second photo below. If you have trouble getting the roaster up to temperature, it means you didn't keep the lid open long enough or light the charcoal well enough.
Refer to the owner's manual for instructions on using lighter fluid.
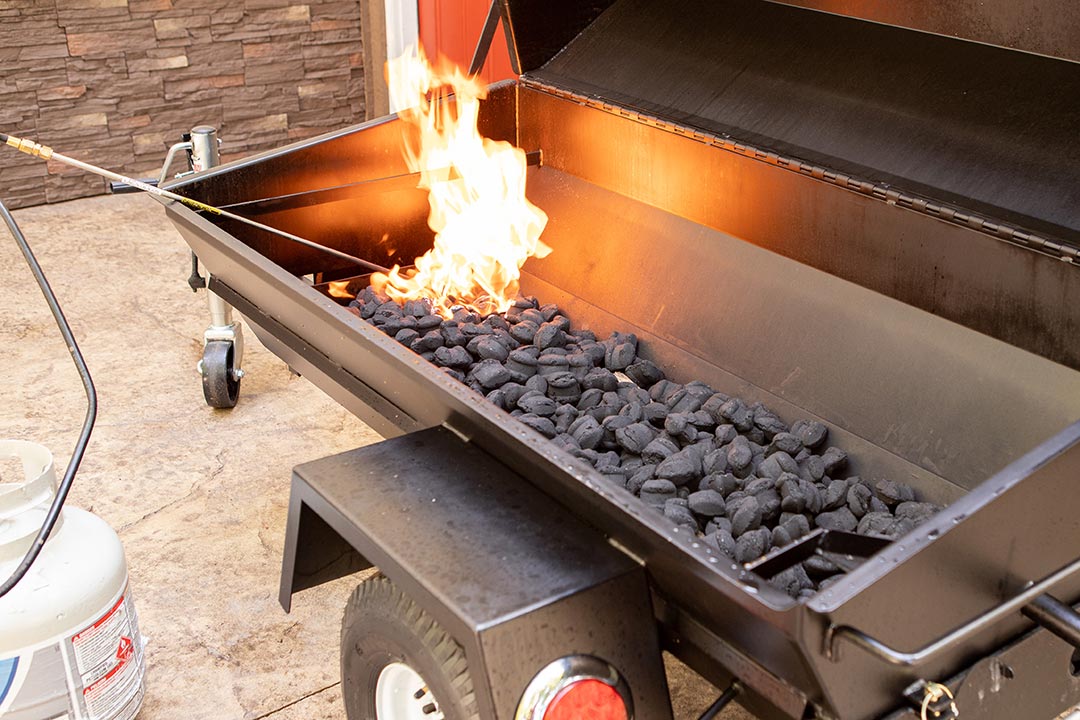
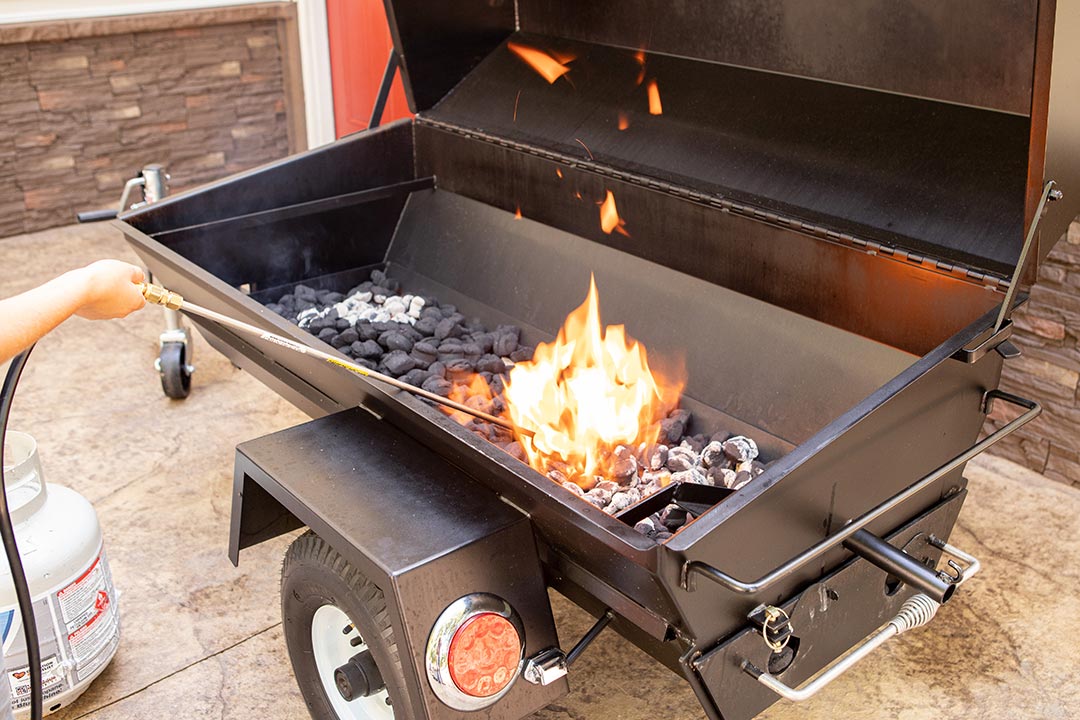
Set the drip pan and cooking grate back on the smoker.
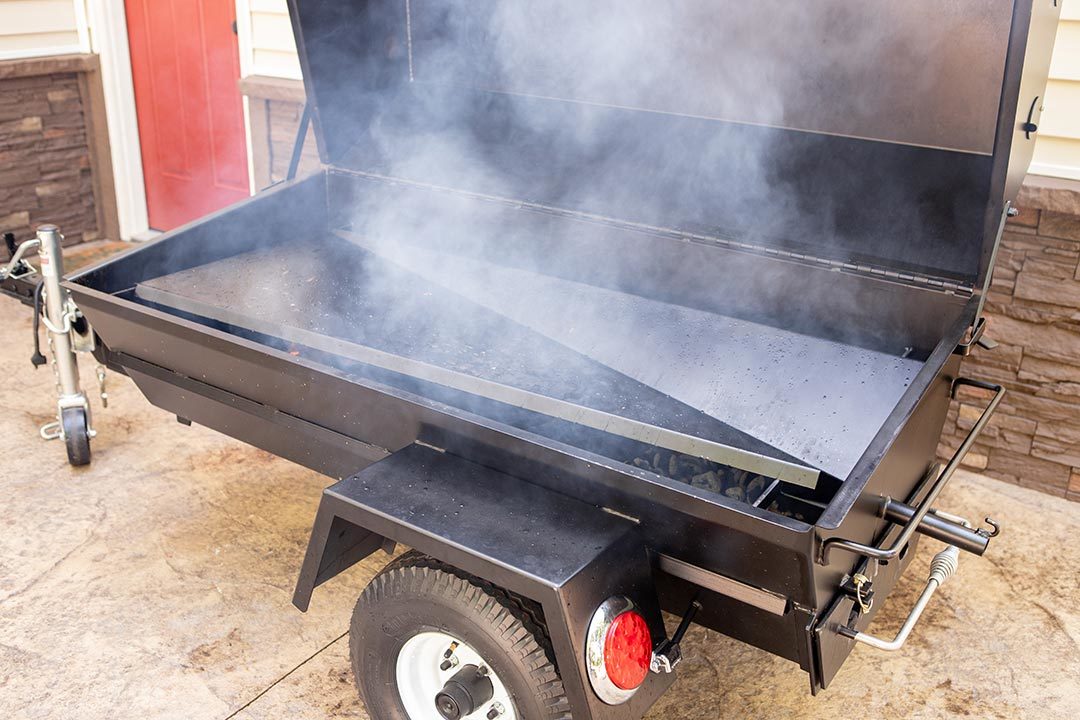
As you probably know, fire management is all about controlling the amount of air you give the fire. The lid on this cooker is the entire top of the unit, so every time you open the lid it gives the fire a lot of air. The cooker also looses heat when the lid is open, but that's not a big concern because it can recover quickly.
However, if you have the lid open a long time, the fire will get hotter a lot faster than it will just by opening the vents all the way. This is not a problem if you learn to harness it and use it to your advantage.
If you are not able to get the smoker hot enough, just open the lid longer to let the fire get more established. If you are running too hot, try to keep the lid closed as much as possible.
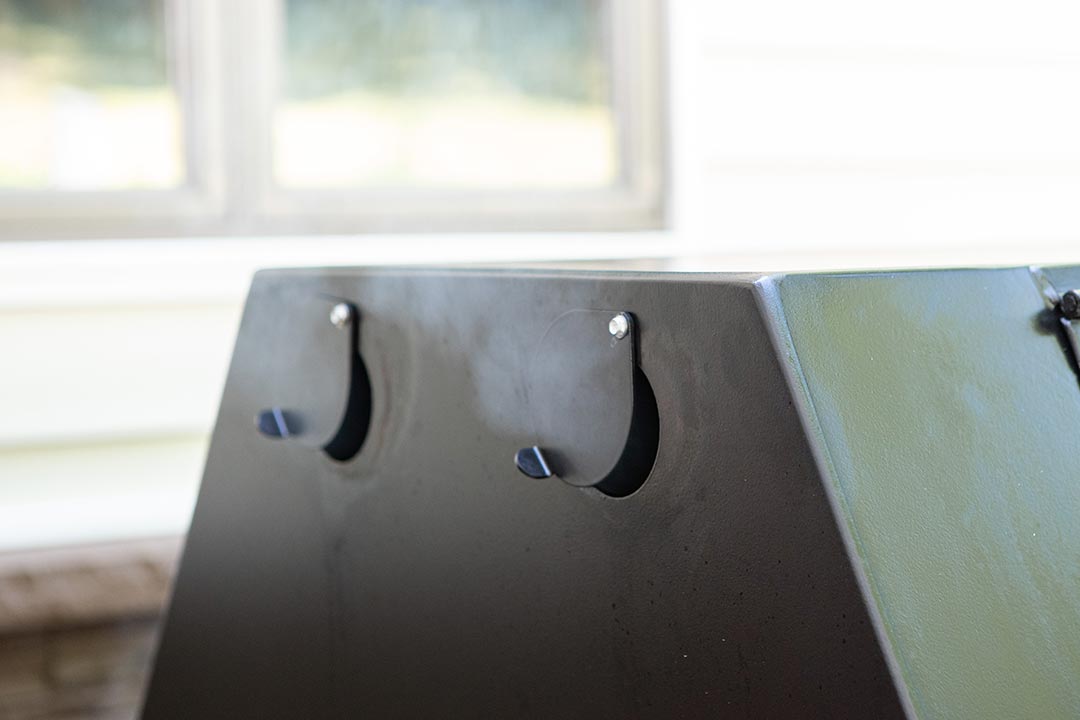
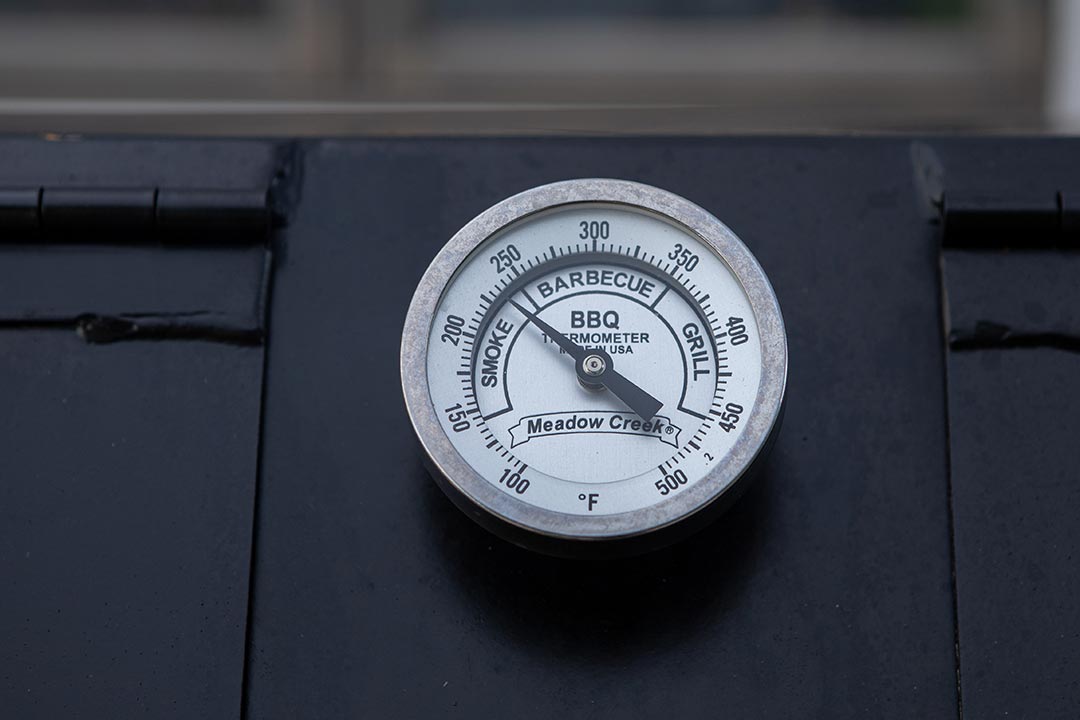
There are vents at both ends of the smoker and at both the top and bottom of the unit. It will take some time to learn how to adjust these, but as a rule start off with all the round vents open about 1/3 of the way. If you have a sliding vent, open it about an inch or two. (See the photo below for the setting I used in this cook.)
From there it will really just depend on how hot you fired it, the weather, and how much meat you have on the cooker (more cold meat lowers the temperature). Remember, it's easier to raise the temperature than it is to control it if you get it wildly out of control. If you happen to fire it too hot, shut the vents all the way for a while to slow it down.
As a rule, running this cooker is a piece of cake, and if you add enough fuel for the length of your cook, usually you won't need to mess with the fire once it's up and running. Having said that, I highly recommend the optional charcoal pull-out in case you need to stoke the fire or add/remove charcoal or wood.
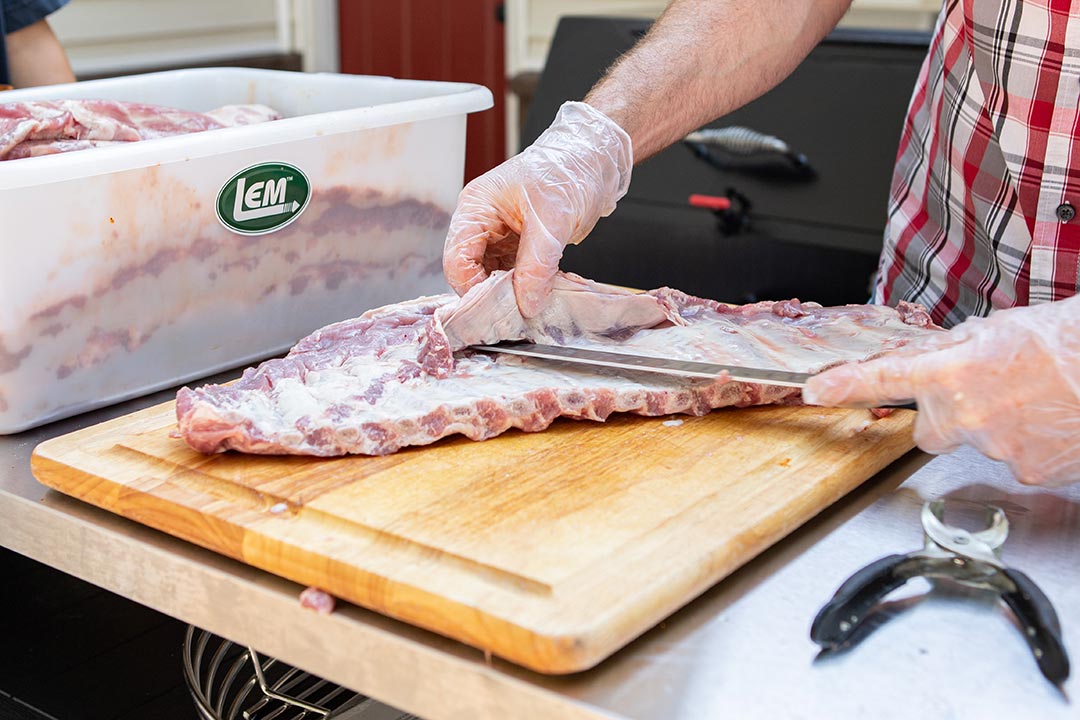
I purchased two cases of spare ribs at Sam's club for this cook and trimmed them down for St. Louis style ribs. First, you have to remove the skirt off the back side with your knife lying flat against the ribs as shown below.
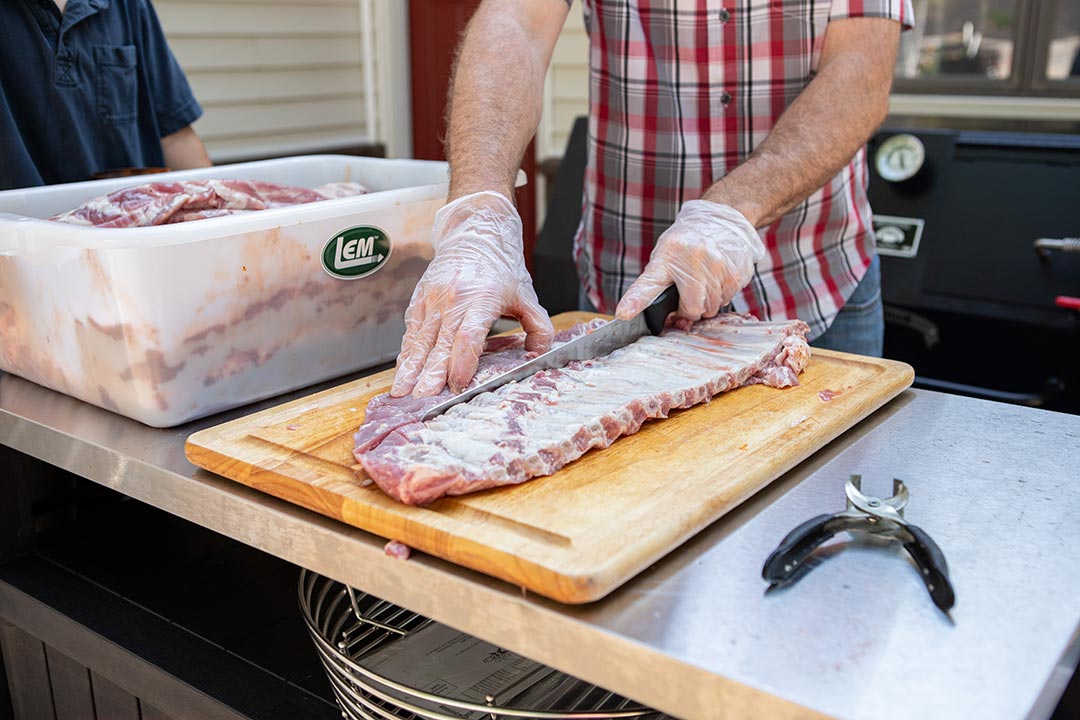
Next, you want to slice off the irregular edge of the rack to square it up and get rid of most of the cartilage beside the bones. You can also slice off the ends of the rack if they are very narrow.
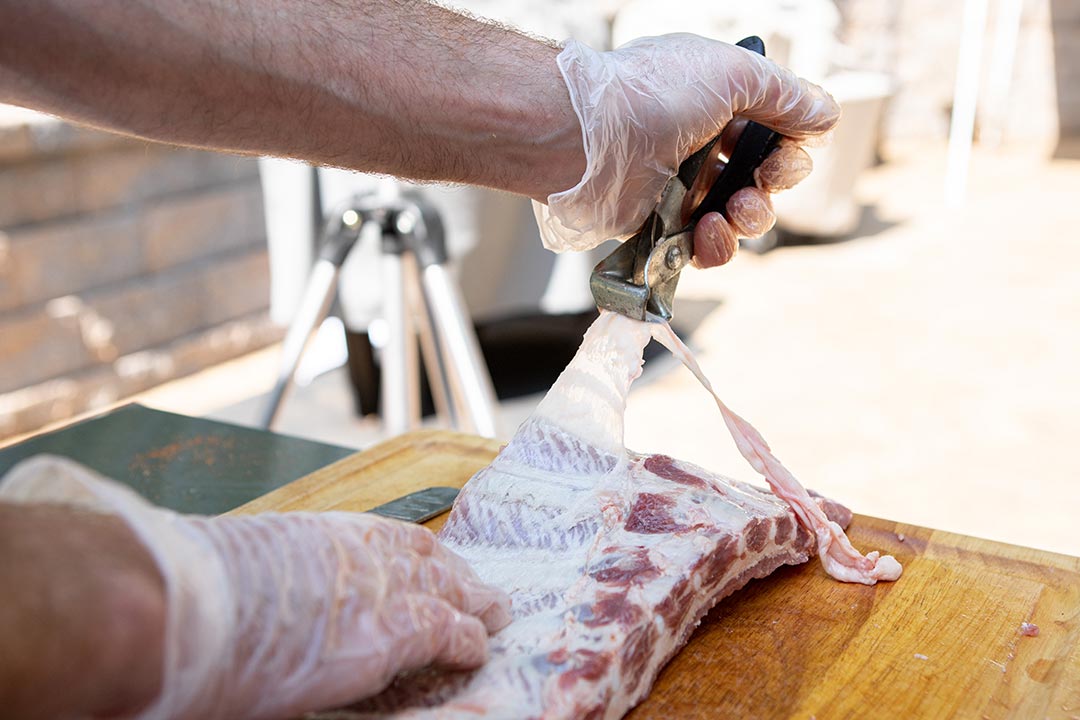
Finally, pull off the membrane on the back side of the ribs. Sometimes the membrane is easy to remove with a paper towel, but when they're harder to pull off, I'll use my catfish skinner.
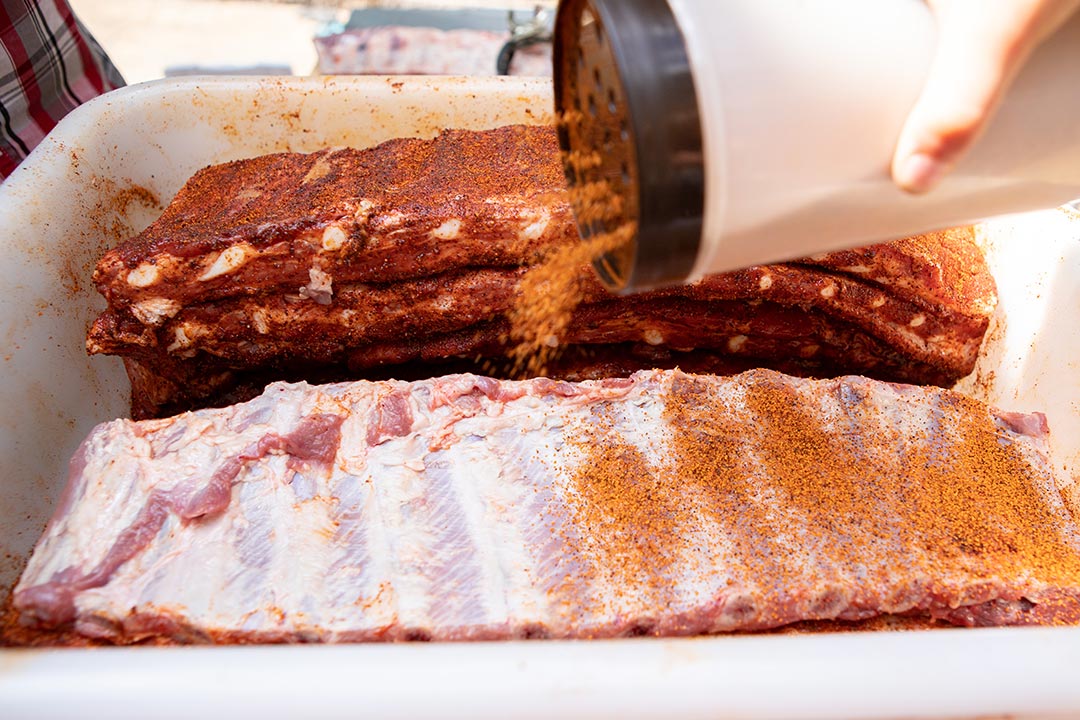
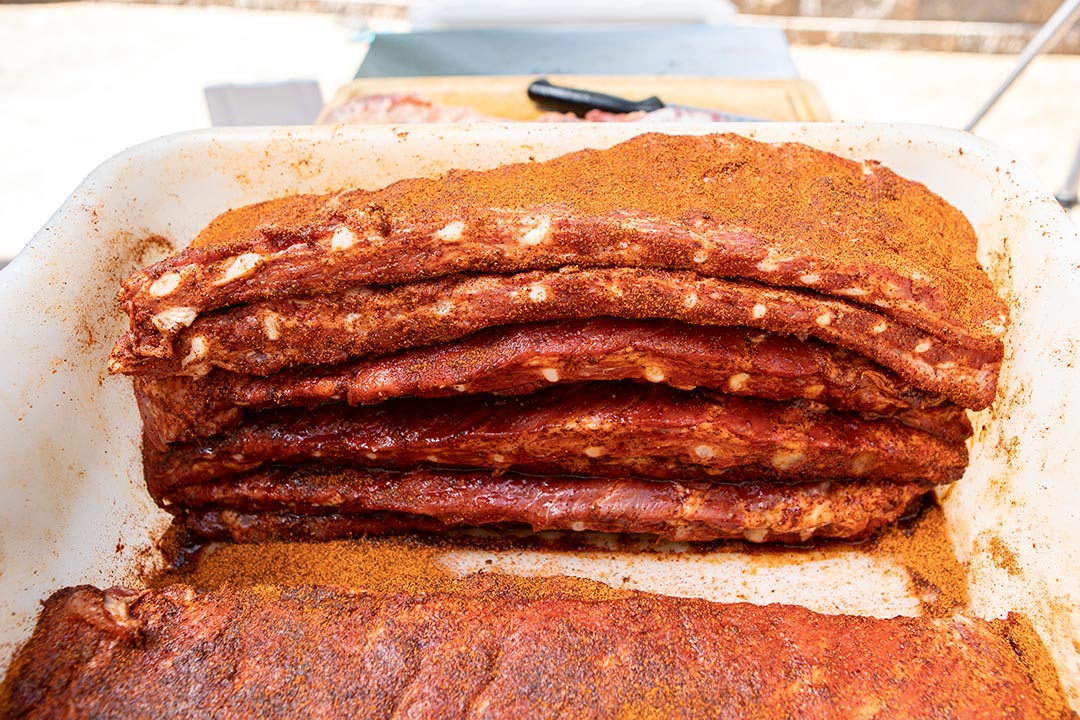
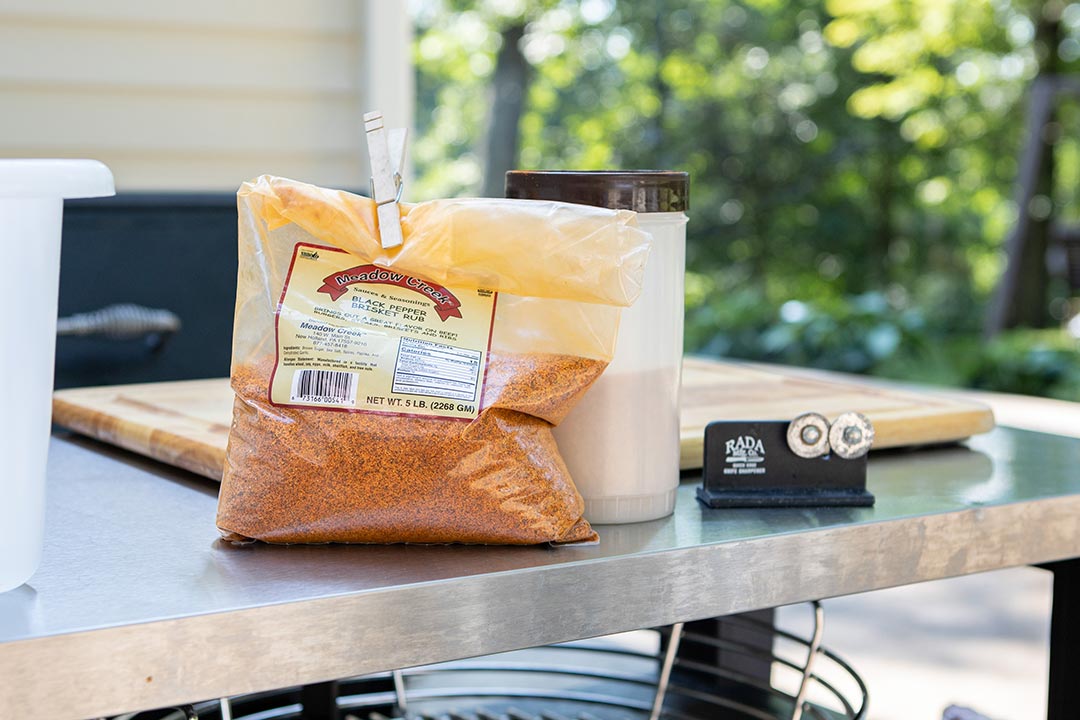
My favorite rub for pork ribs is Meadow Creek Black Pepper Brisket Rub. If I'm doing a bunch of ribs, I lay them in a meat lug to contain the mess. Cover both sides and the edges with the rub. If you're using something with a lot of salt, you might want to go a bit easy on it.
Cook the ribs with indirect heat at 225–250 degrees F until they are done.
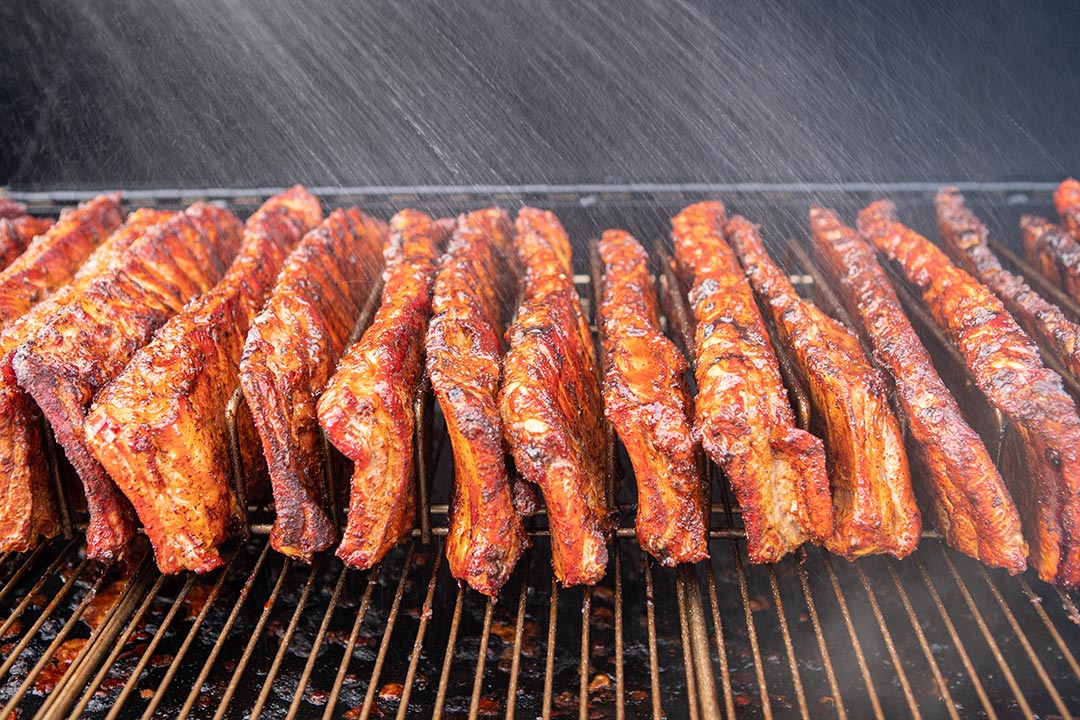
I kept this recipe extremely simple—no wrapping or anything fancy. The only thing I did to the ribs while they were cooking was spray them with apple juice several times.
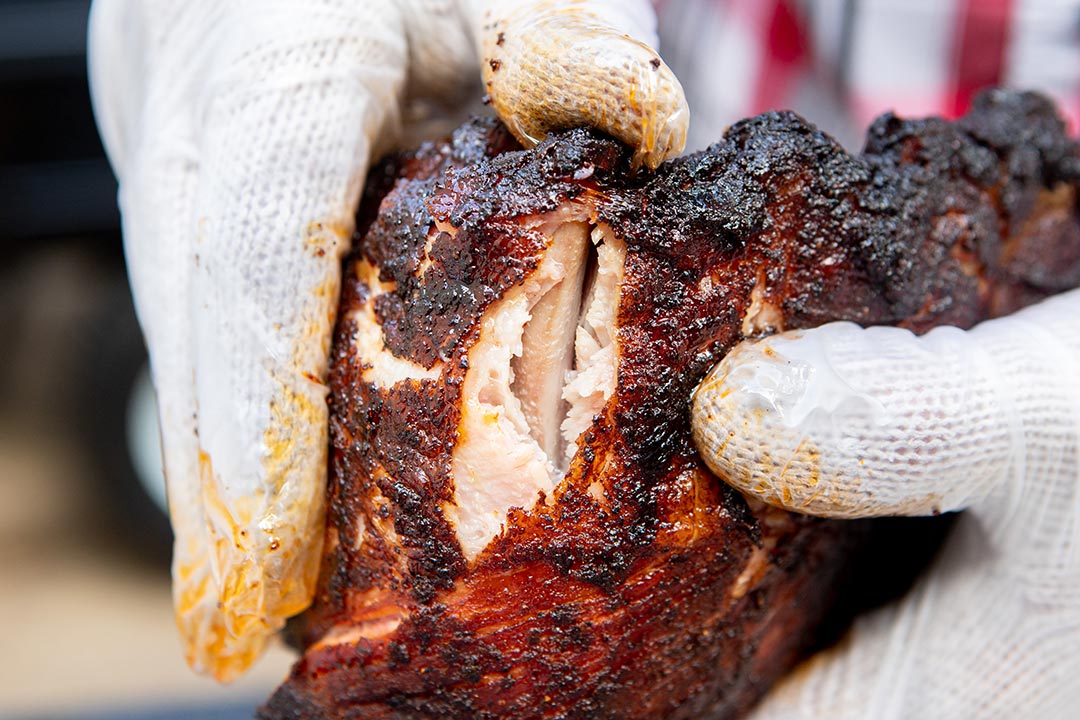
They are done once you can bend the rack and the meat breaks apart as shown below. See my notes about the timing of this cook near the bottom of this page.
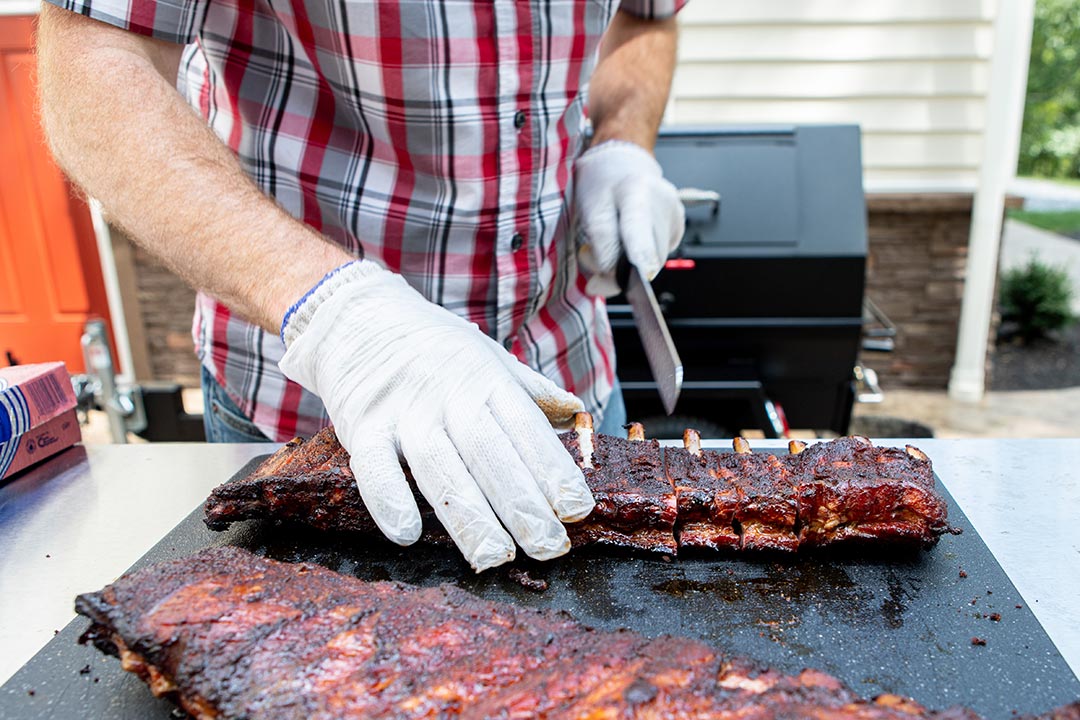
I usually cut the ribs into single-bone pieces to serve. If you are cooking for leftovers, you can vacuum seal full racks of ribs or a set of two per bag, and freeze them. These ribs have been reheating very nicely.

"We have three PR60s and one PR72. We have the second tier racks for all of them. We run from one to all four cookers on a daily basis. You can cook anything on them from a whole hog to vegetables and everything in between."
- Dave Hunter -
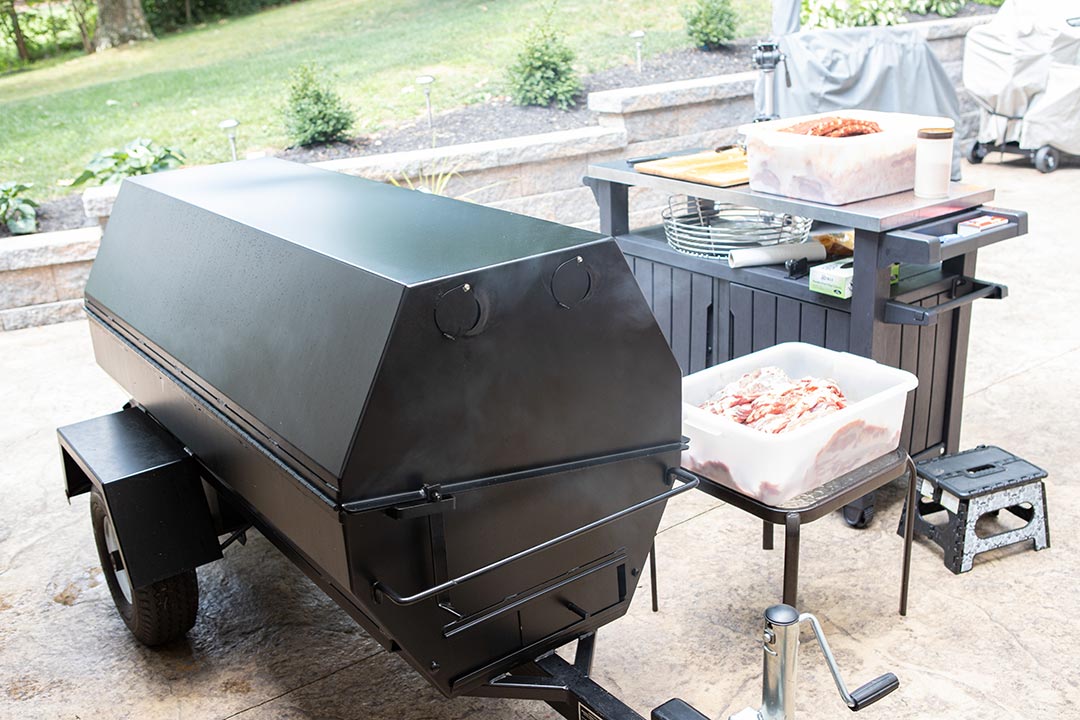
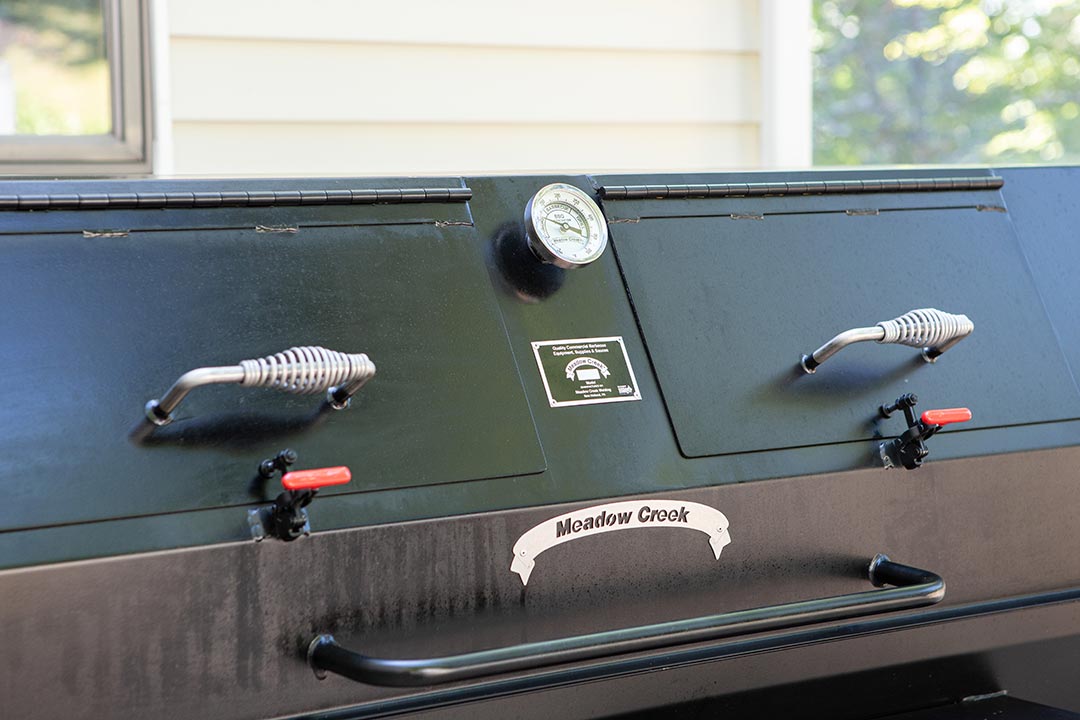
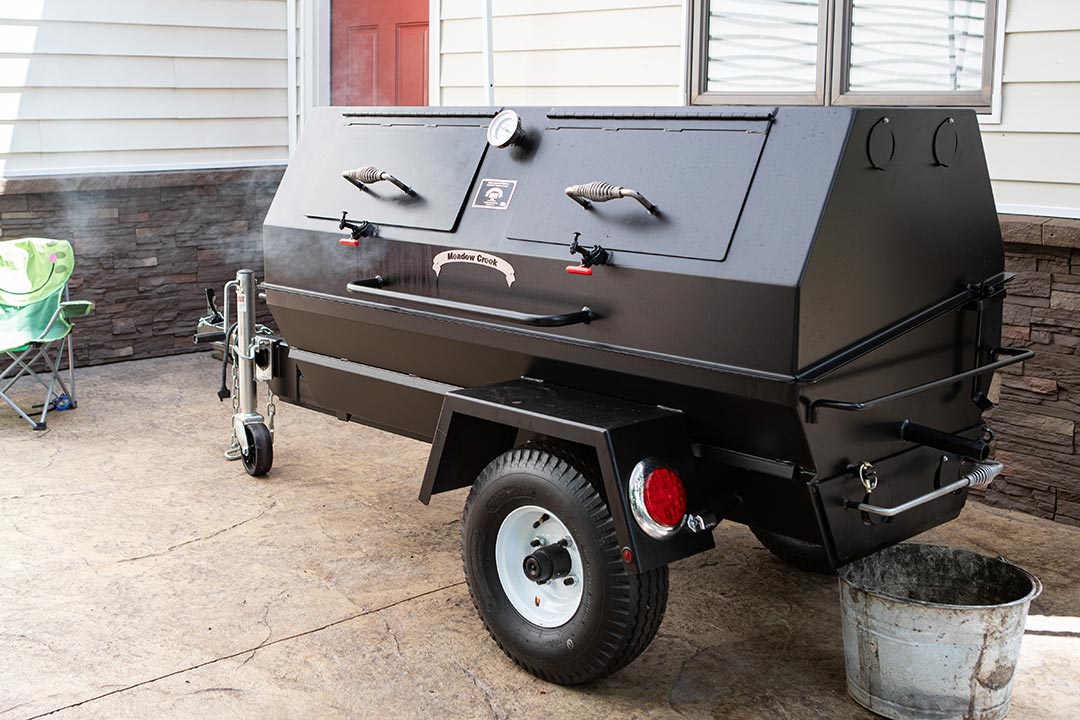
Here some photos of the PR60T Pig Roaster and my workspace.
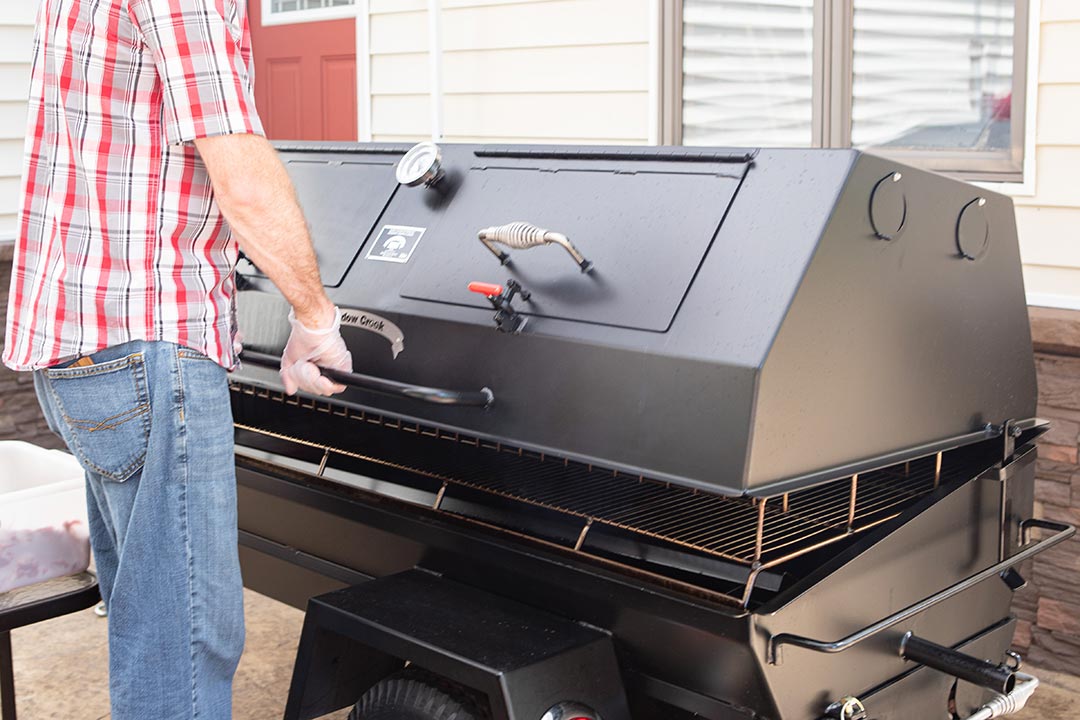
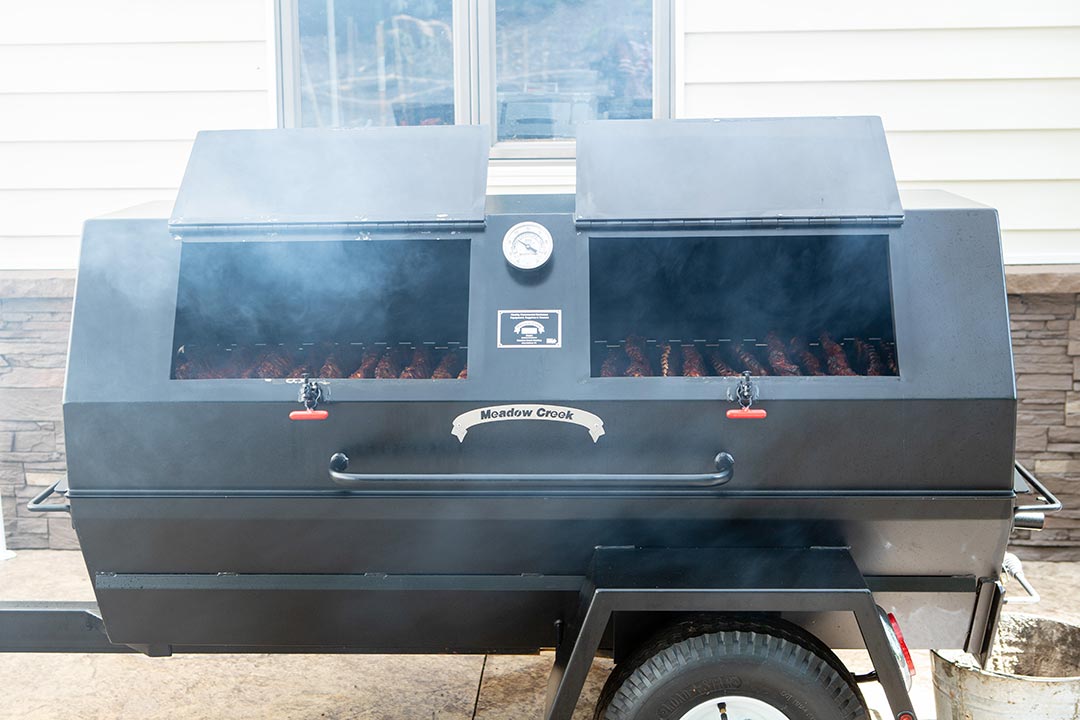
The optional doors in lid make it easy to check on the meat without opening the lid.
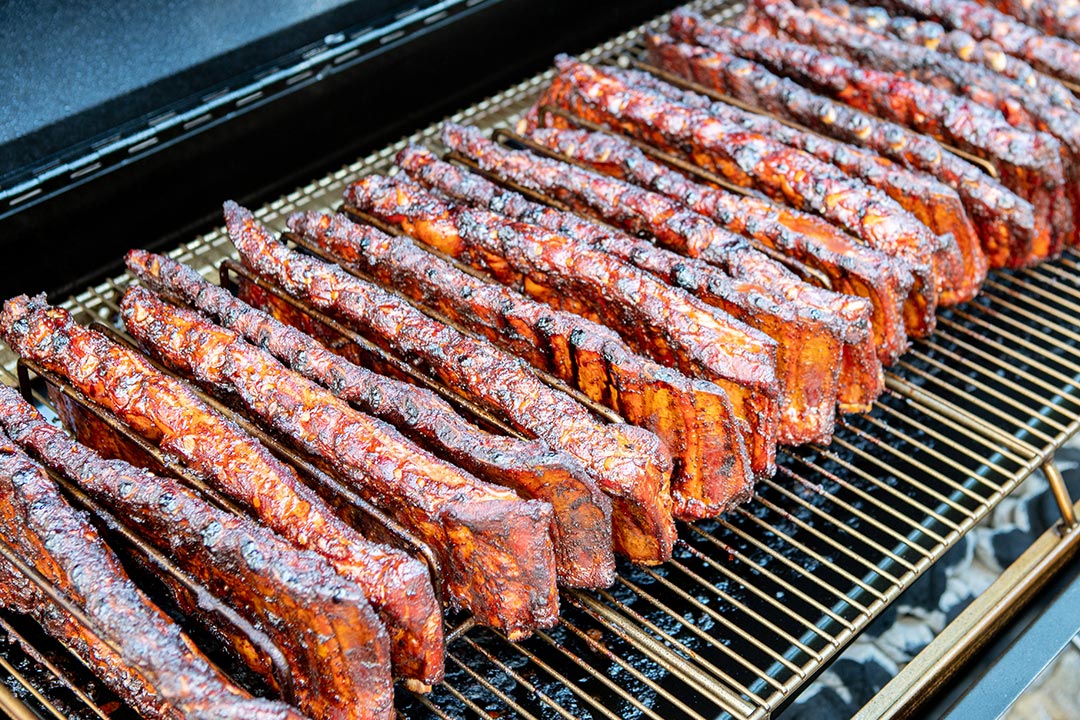

I fired the pig roaster at 9:30 am and let it stabilize while I trimmed the ribs. The first case of ribs went on at 11:00 am and the second case was on by 12:00. I would have preferred to put them all on at once, but I needed to get the first case out of the way so I could prep the rest.
The first ribs were done at 3:00 pm and the last of them were done by 6:00.
Ribs vary in thickness from one rack to another and even from the middle to the end of one rack, so it's tricky to get everything cooked to perfection without drying out the ends or the thinner racks. Of course, it's worse if you are doing 27 racks at once. However, by watching them carefully and removing each rack as it was done, I am delighted with how they turned out.
If you are in the market for an affordable smoker/pig roaster/grill that produces authentic barbecue and makes cooking over charcoal and wood easy and fun, you've got to check out these sweet pig roasters.
You can explore more photos and read features and specs on the Meadow Creek pig roasters in our online product catalog. Click on one of the models listed and then click "Customize" to see the available upgrades and suggested retail prices:
Tags
pig roasters, pr60t pig roaster, smoked ribs